Table of Contents
Elastic IP Address
Jun 2017
Introduction
This guide assumes that you know a few basic things about AWS, that you have logged in and created an instance, and can navigate the AWS menus. If you have not created and instance, check this out: Creating an Amazon AWS EC2 Instance
From Amazon:
<sxh [text], gutter: false; highlight: 0-0;>
An Elastic IP address is a static IPv4 address designed for dynamic cloud computing. An Elastic IP address
is associated with your AWS account. With an Elastic IP address, you can mask the failure of an instance or
software by rapidly remapping the address to another instance in your account.
An Elastic IP address is a public IPv4 address, which is reachable from the Internet. If your instance does
not have a public IPv4 address, you can associate an Elastic IP address with your instance to enable
communication with the Internet; for example, to connect to your instance from your local computer.
</sxh>
When you create an instance, you are associated an IP Address from a pool of Amazon public addresses. When/if you stop that instance, and restart it you, chances are you will get a different IP Address (as is normal with any DHCP system, depending on lease times of course.)
To avoid this we can use a feature called Elastic IP Address. If you are in your first year of free access, you can get the your first Elastic IP Address for free (and I think it stays free, but you have to pay for the instance after one year (or create another account (shh)).
Your Elastic IP Address has a fixed IP. So no matter how many times you stop/start/restart your instance, you will always have the same Public IP Address, brilliant if you have mapped that to a Domain Name.
WARNING!!! The Elastic IP Address is only FREE if you USE it!. If you stop your instance, you start to be charged by the hour for any unused Elastic IP Addresses, so if you don't want to pay for them, release them immediately.
Setup
If your instance is running, it will currently have a dynamic IP Address assigned by Amazon.

If your instance is running, you have to stop the instance to allow the DHCP address to return to the Amazon pool, and to allow assignment of an Elastic IP Address.
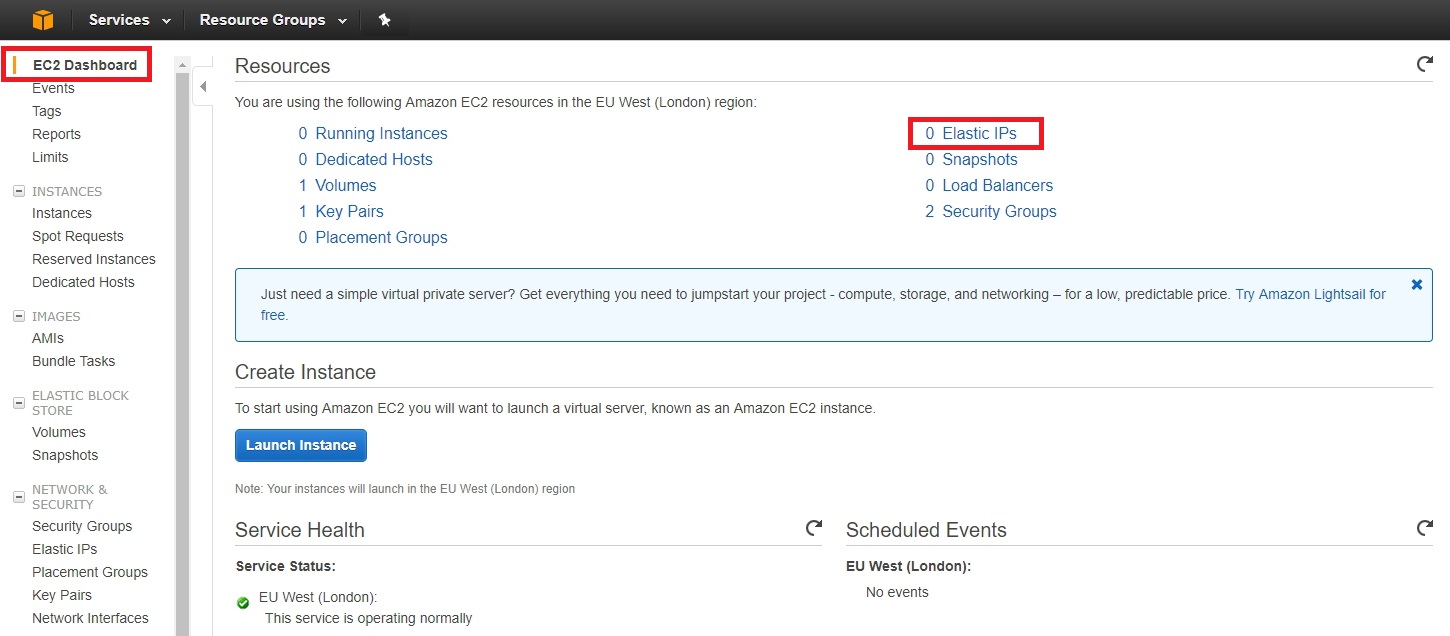
Navigate to the AWS Console.

Select the Elastic IPs Option.
The next page shows your allocated Elastic IPs (you probably won't have any.)

Select Allocate New Address.
The next page seems a bit unnecessary.

Select Allocate.
Next you will see a confirmation page.

Here you can see the Public Elastic IP Address you have been allocated (this is not associated with your instance yet.) Select Close.
Once back at the EC2 Console. You need to start your instance.

Select Actions, Instance State then Start.
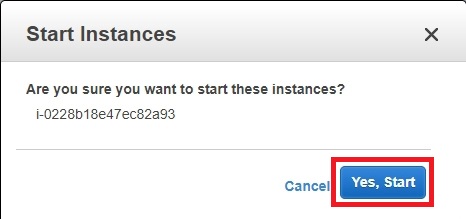
You will get a prompt asking if you wish to start the instance.

Click Yes, Start.
Back at the EC2 Console you will see your started instance.

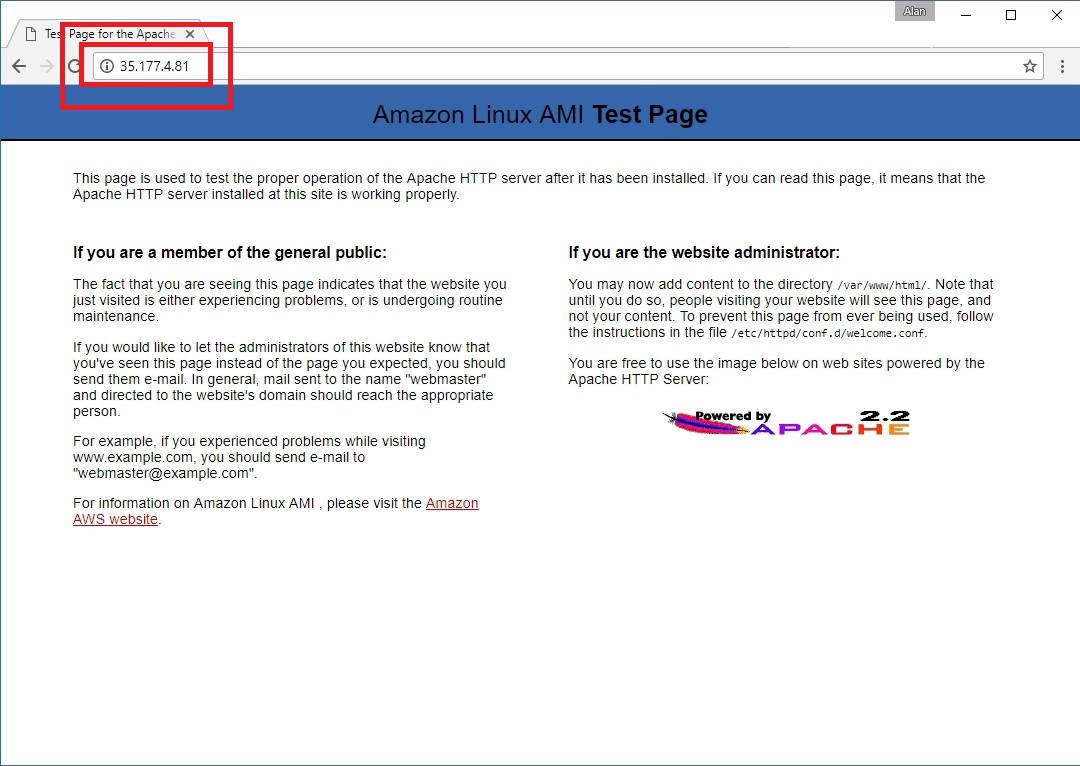
The IP Address should match the Elastic IP Address you were allocated when you created it earlier.
That is it, pretty simple really. You can now connect to your AWS EC2 Instance using your new Elastic IP Address.

