Table of Contents
BMC Configuration
Oct 2019
The BMC allows for remote management of the G8 server from a Web based UI. The advantages over using SSH are that you get access to things like the BIOS, the Console and can even start the server if it has done a power down.
BMC Configuration
Turn on the server from cold, and wait for the Boot Options page:
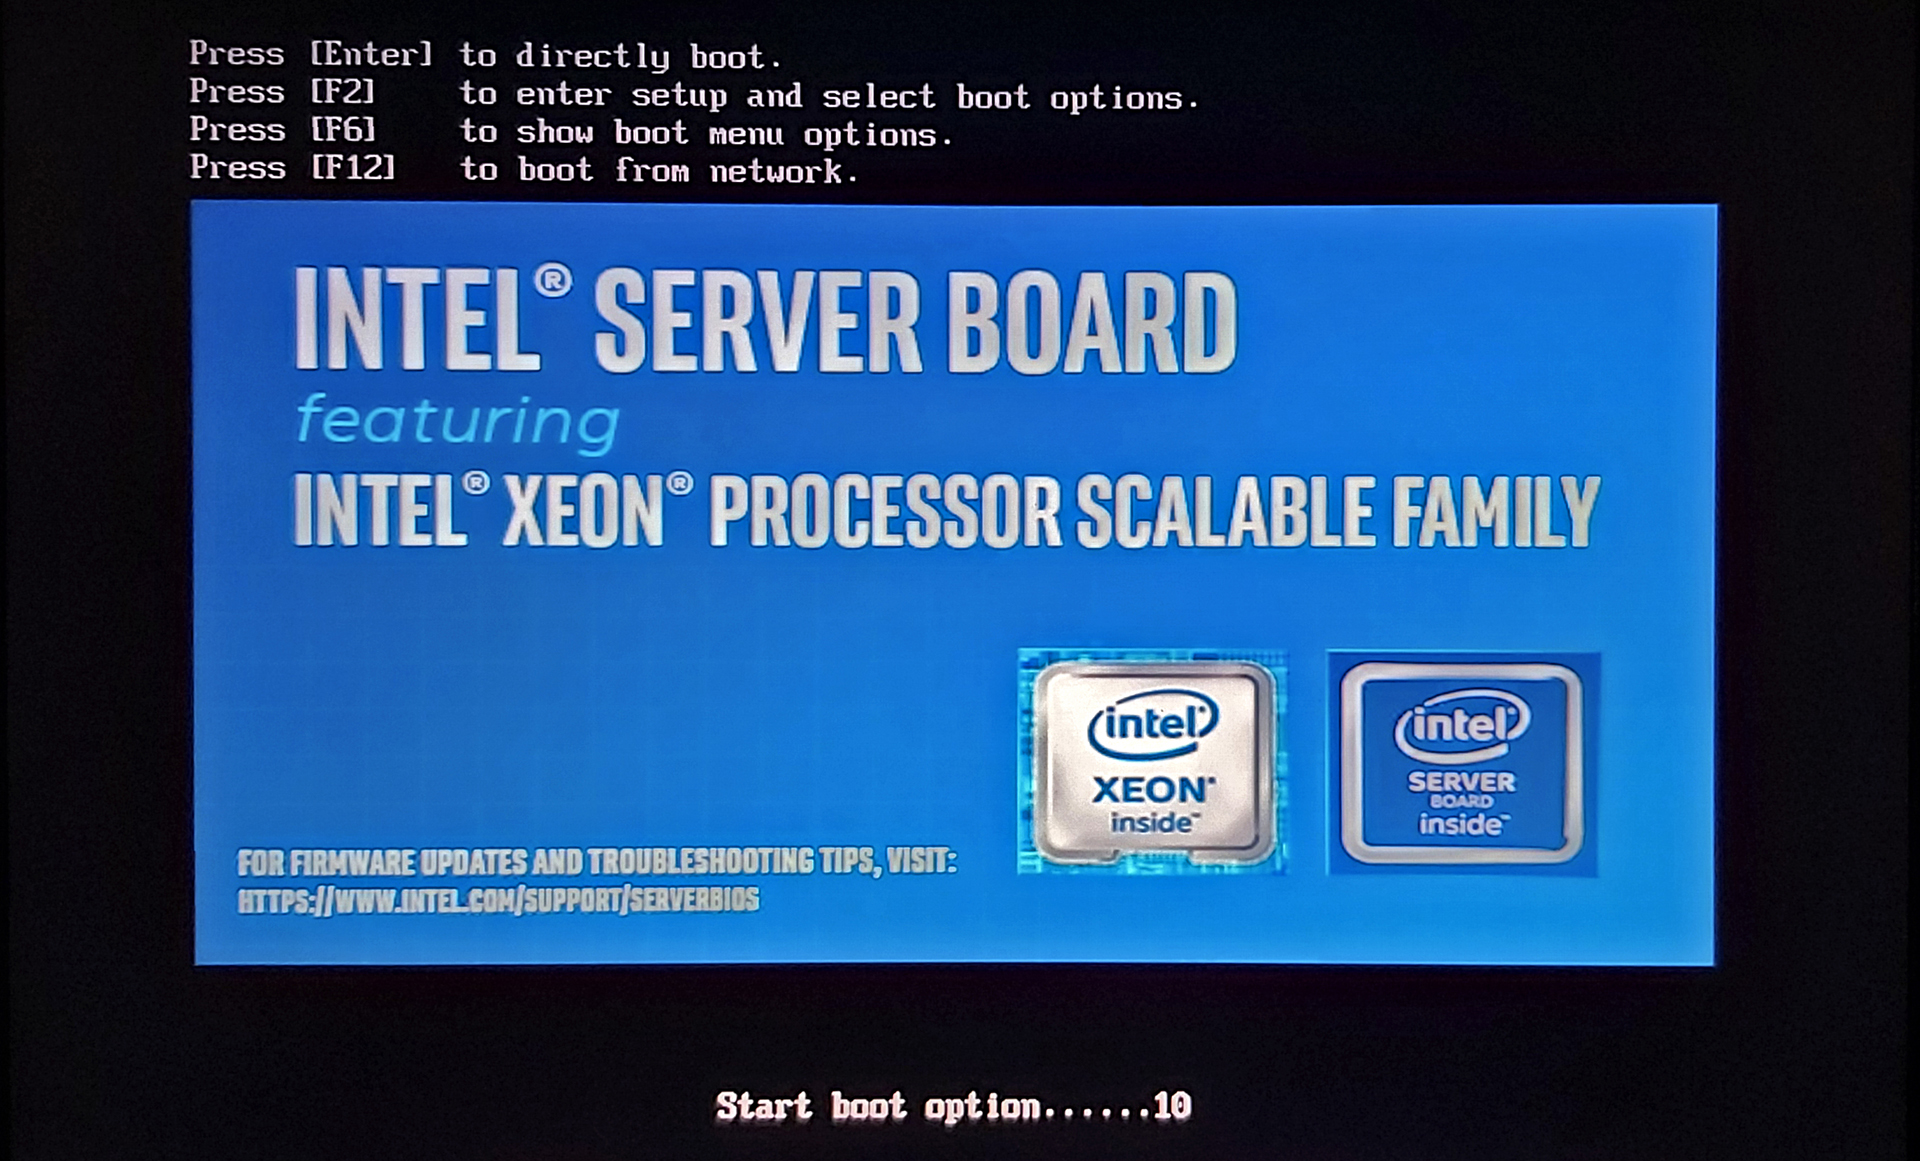
From this page select [F2] for the BIOS (you have to be quick, you only get about a second).
After a short time, you will see the initial BIOS page.
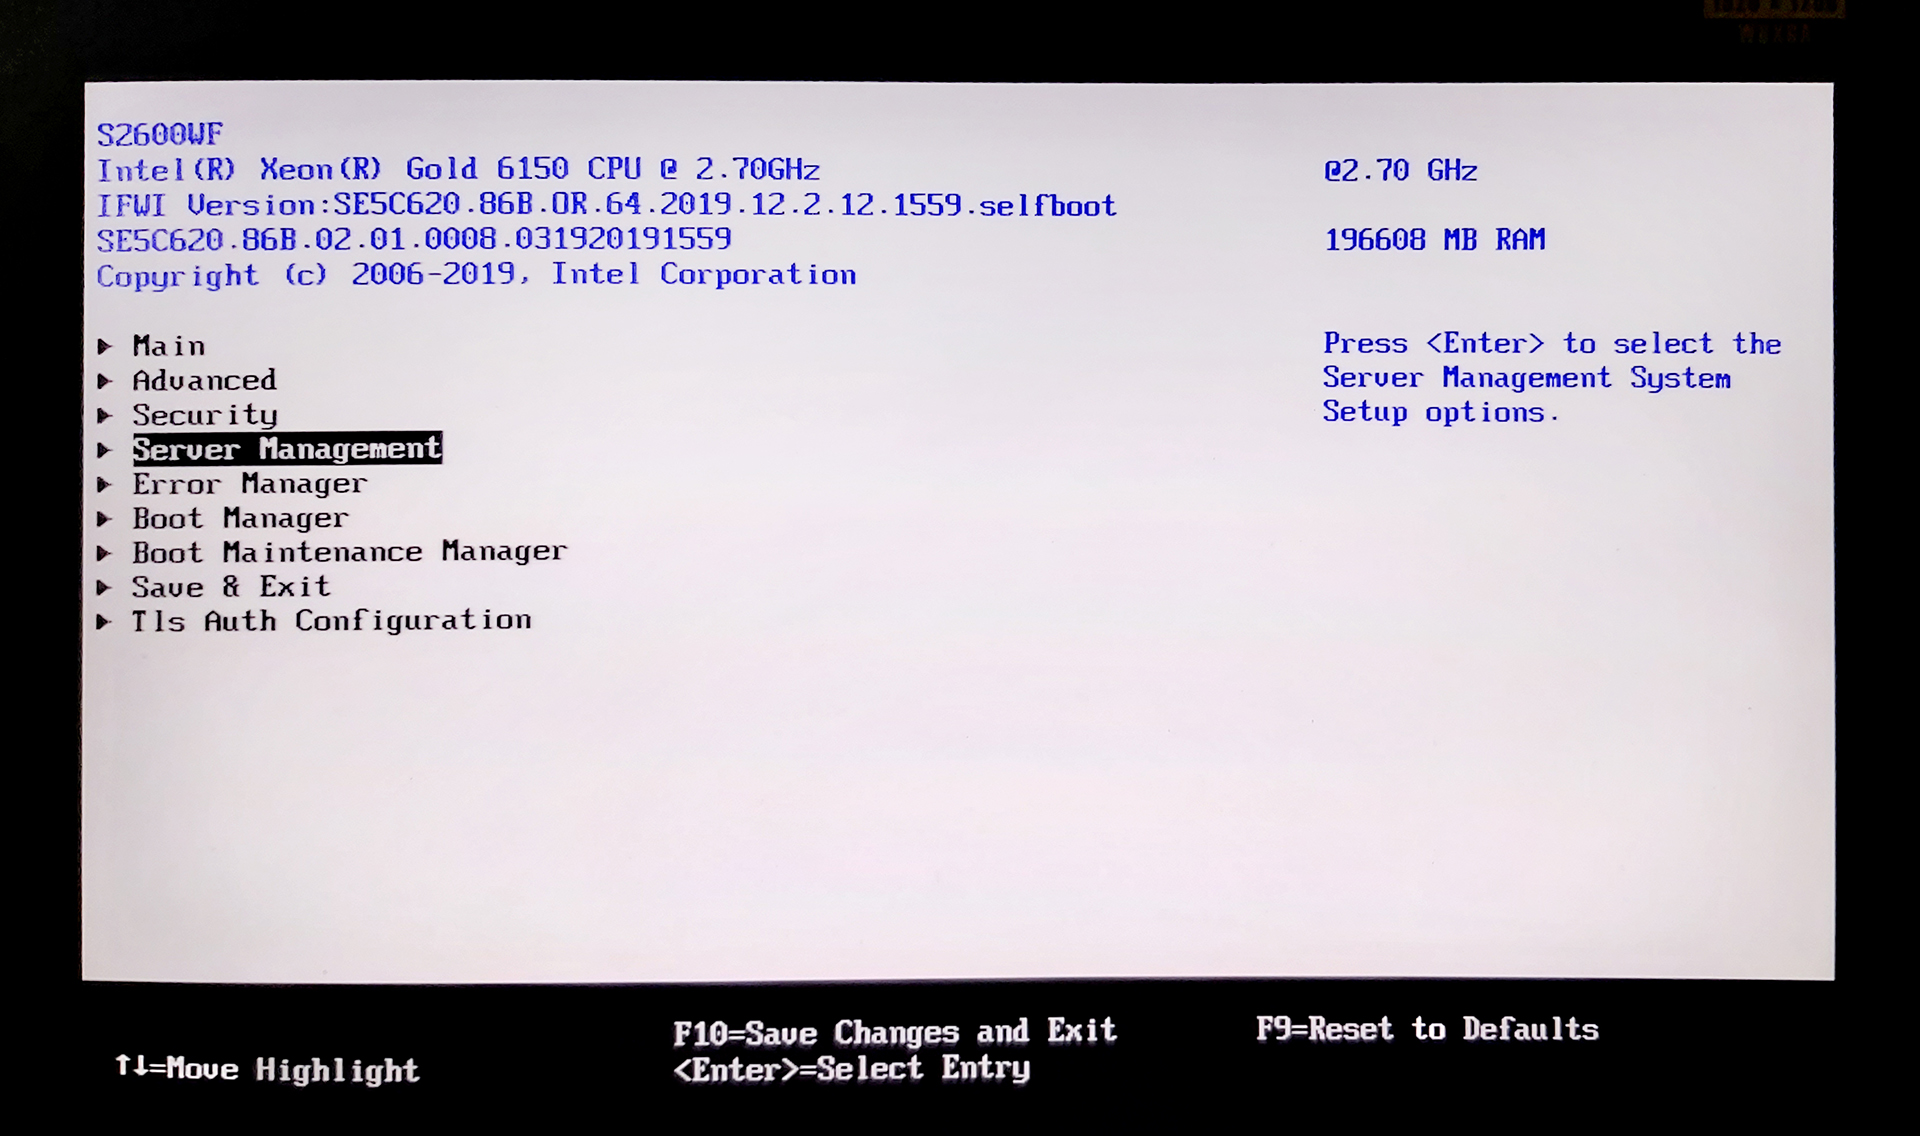
From this page, move down to and select Server Management.
When the Server Management page is displayed, you must scroll to the bottom of this page.
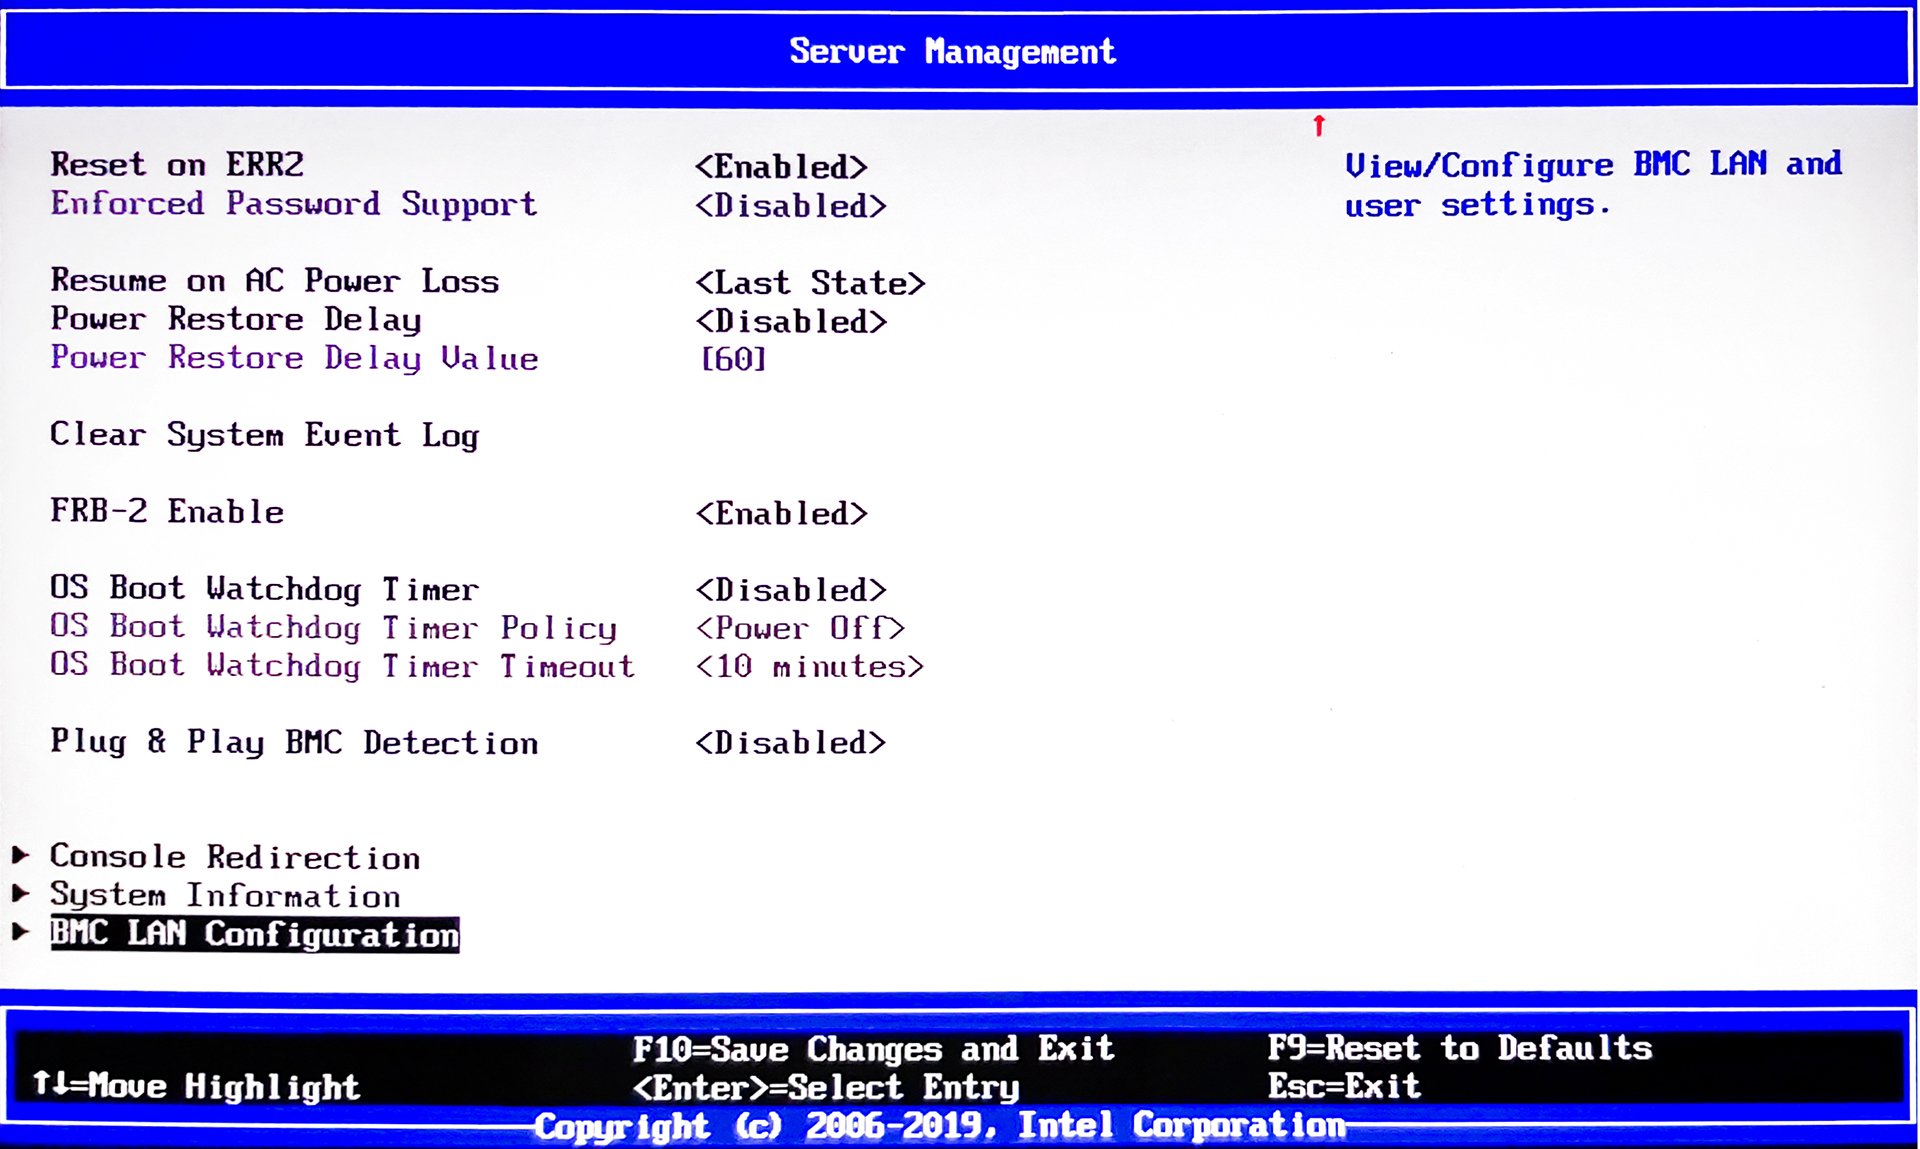
From the bottom of the Server Management BIOS page, select BMC LAN Configuration.
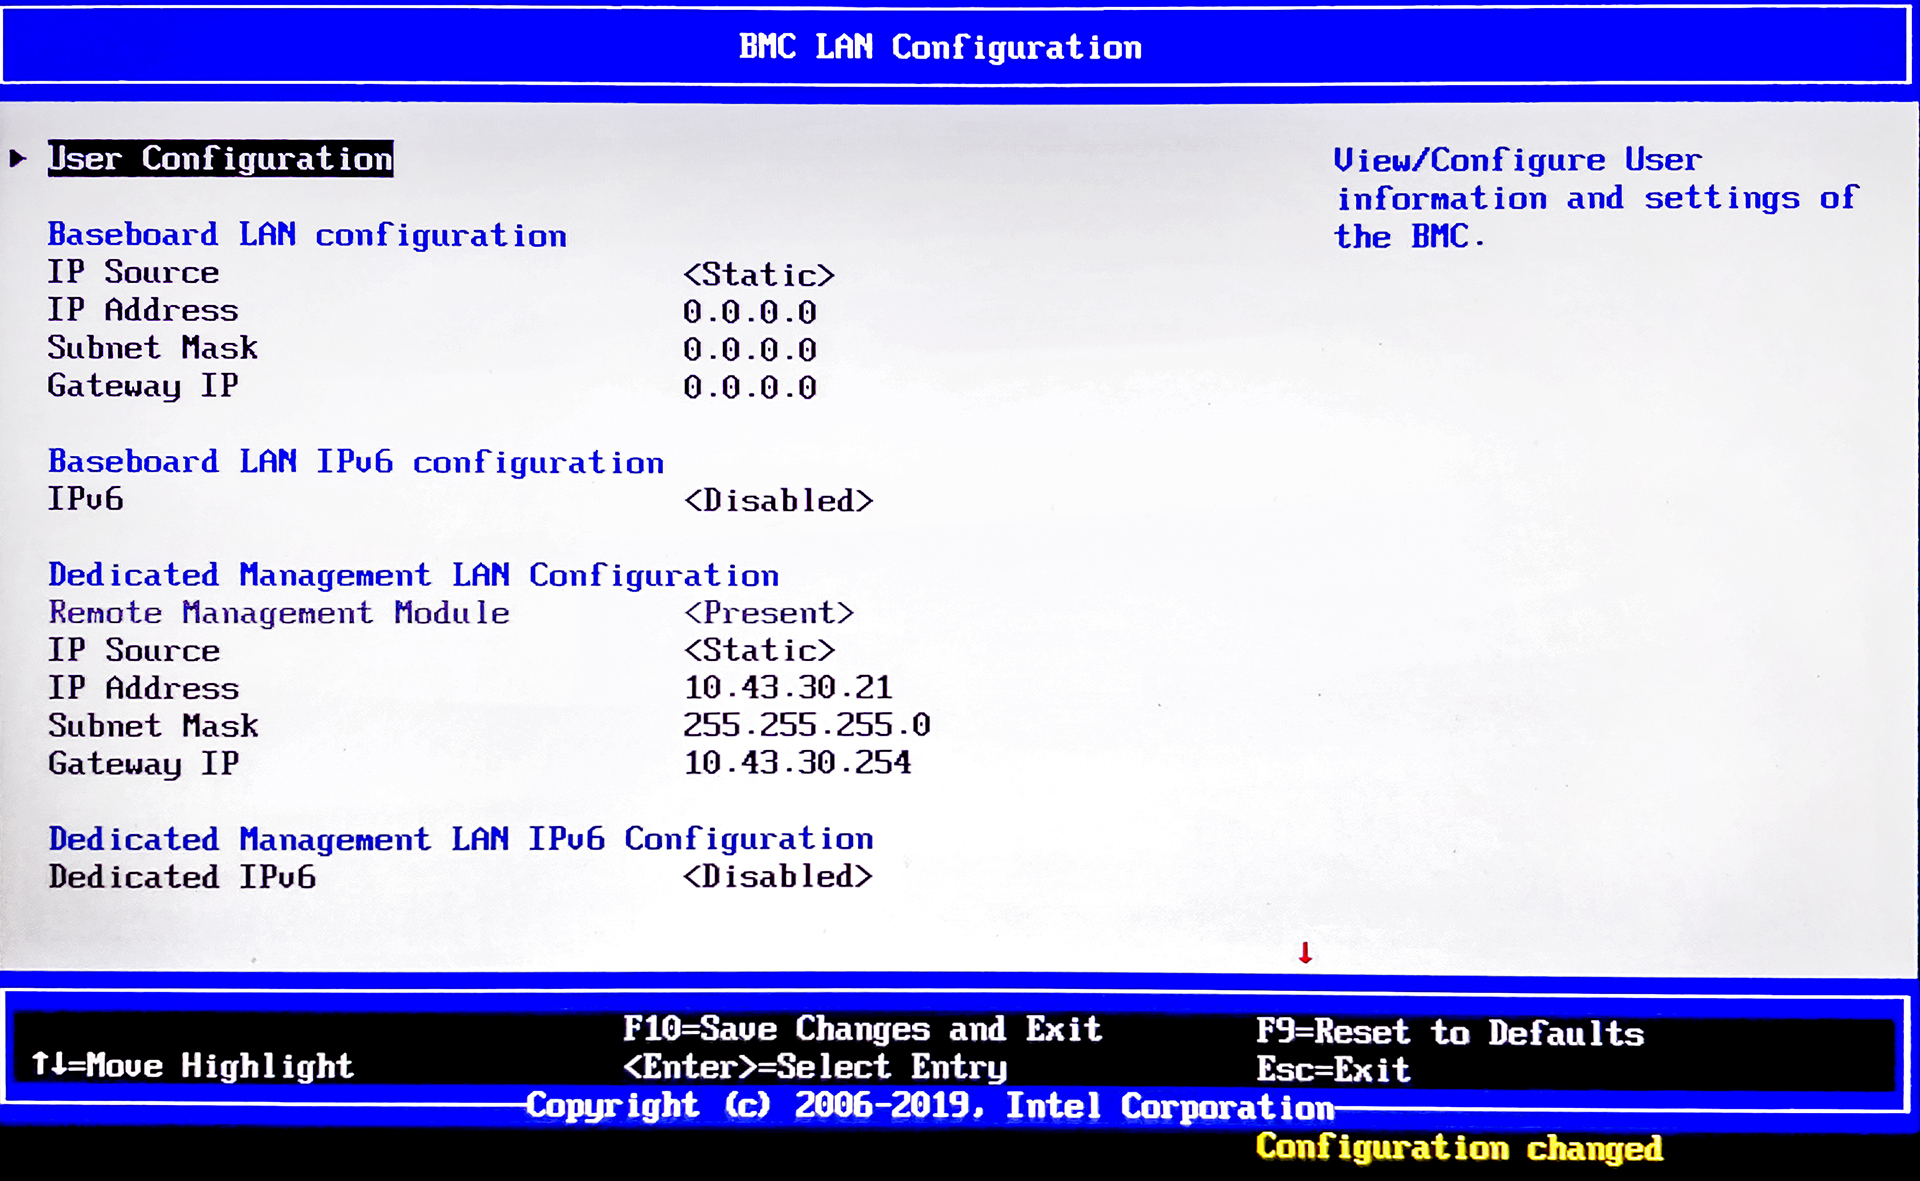
The BMC LAN Configuration page shows two sets of IP Settings. Baseboard LAN Configuration and Dedicated Management LAN Configuration.
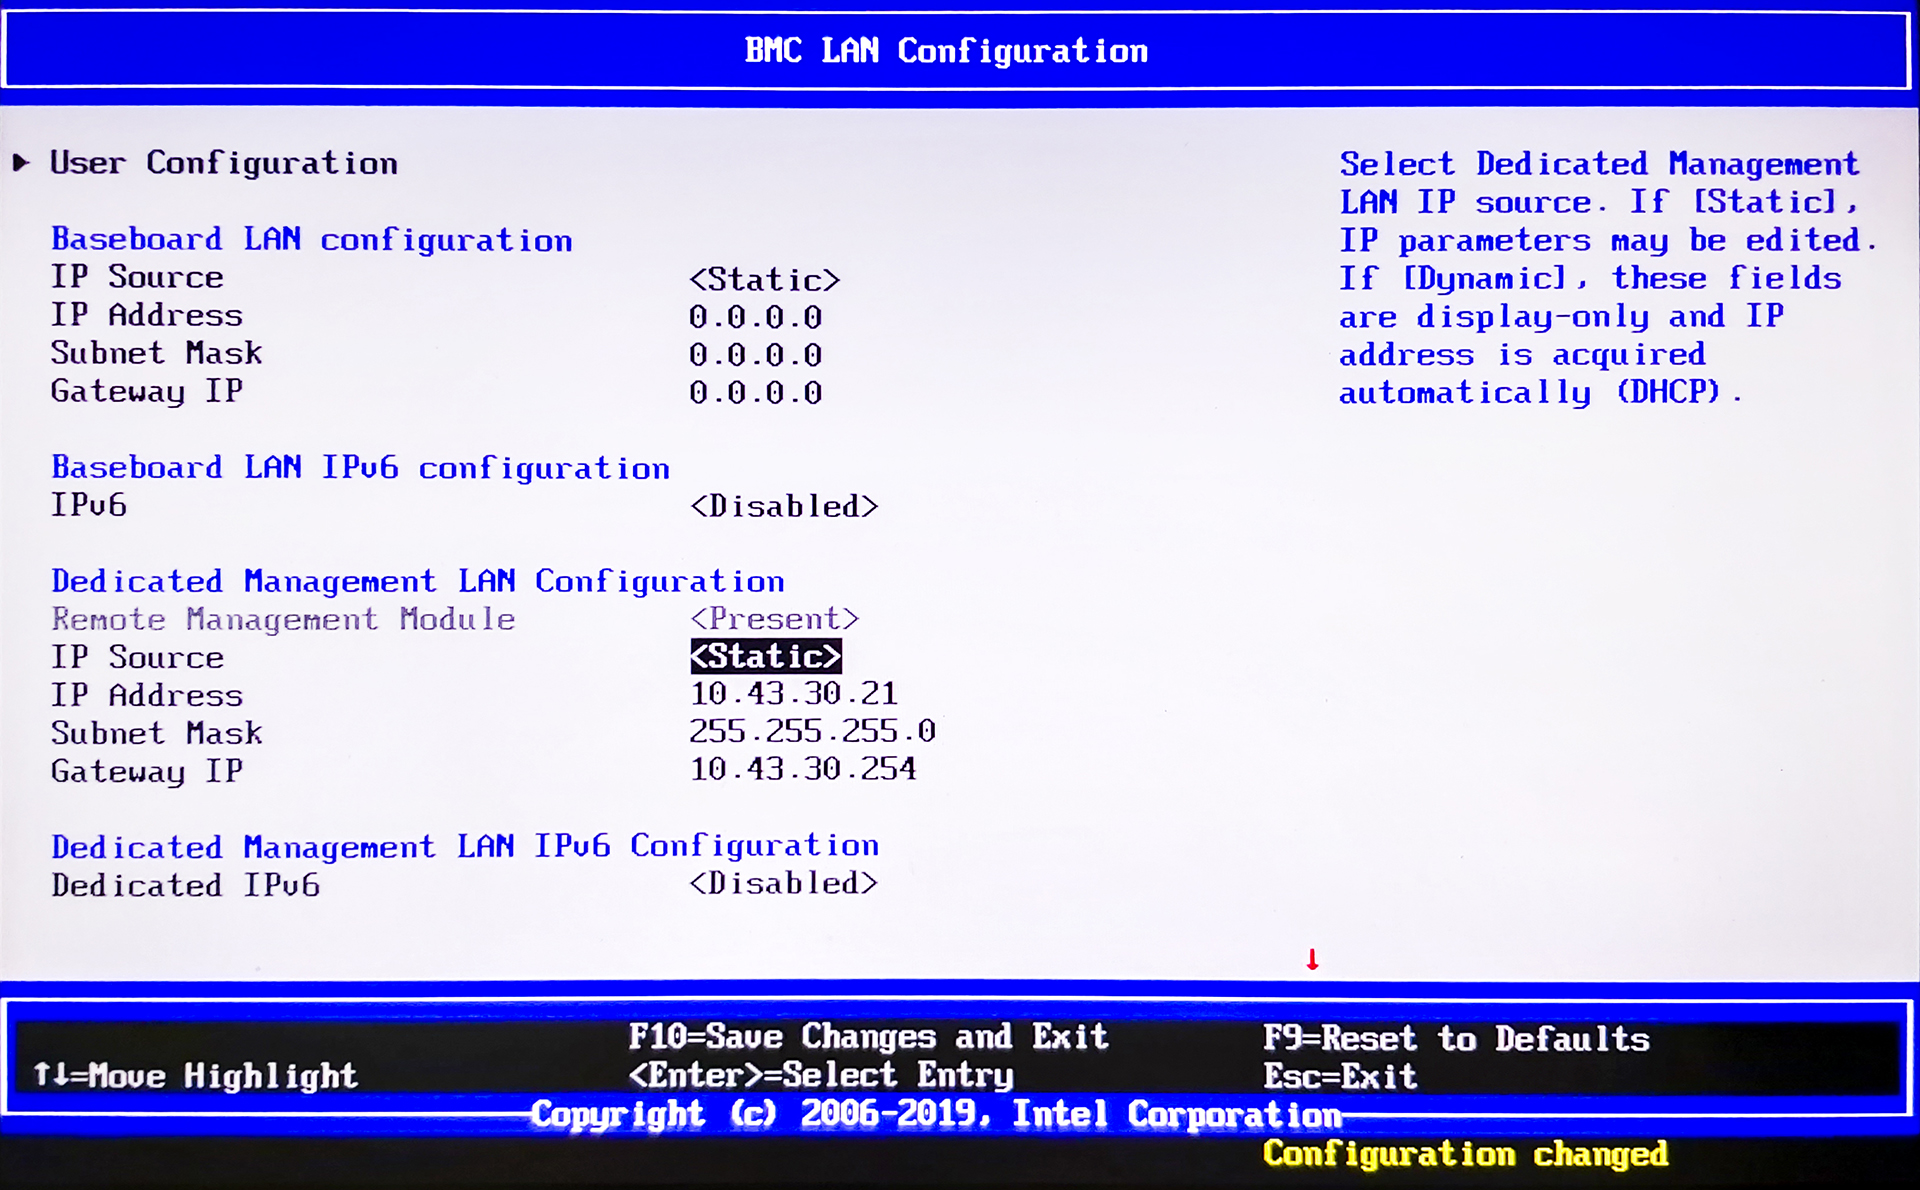
It is the Dedicated Management LAN Configuration we need to set. If no BMC address has ever been configured, then it will be 0.0.0.0 for everything, you need to configure this for your network, in this example we have used the following:
IP Source - <Static> (you could use DHCP, but would still have to work out the assigned address)
IP Address - 10.43.30.21  -  use your own IP settings
Subnet Mask - 255.255.255.0
Gateway IP - 10.43.30.254
Once the IP settings have been configured, you need to scroll to the top of the page, and select User Configuration.
Once the User Configuration page opens, you will see the following:
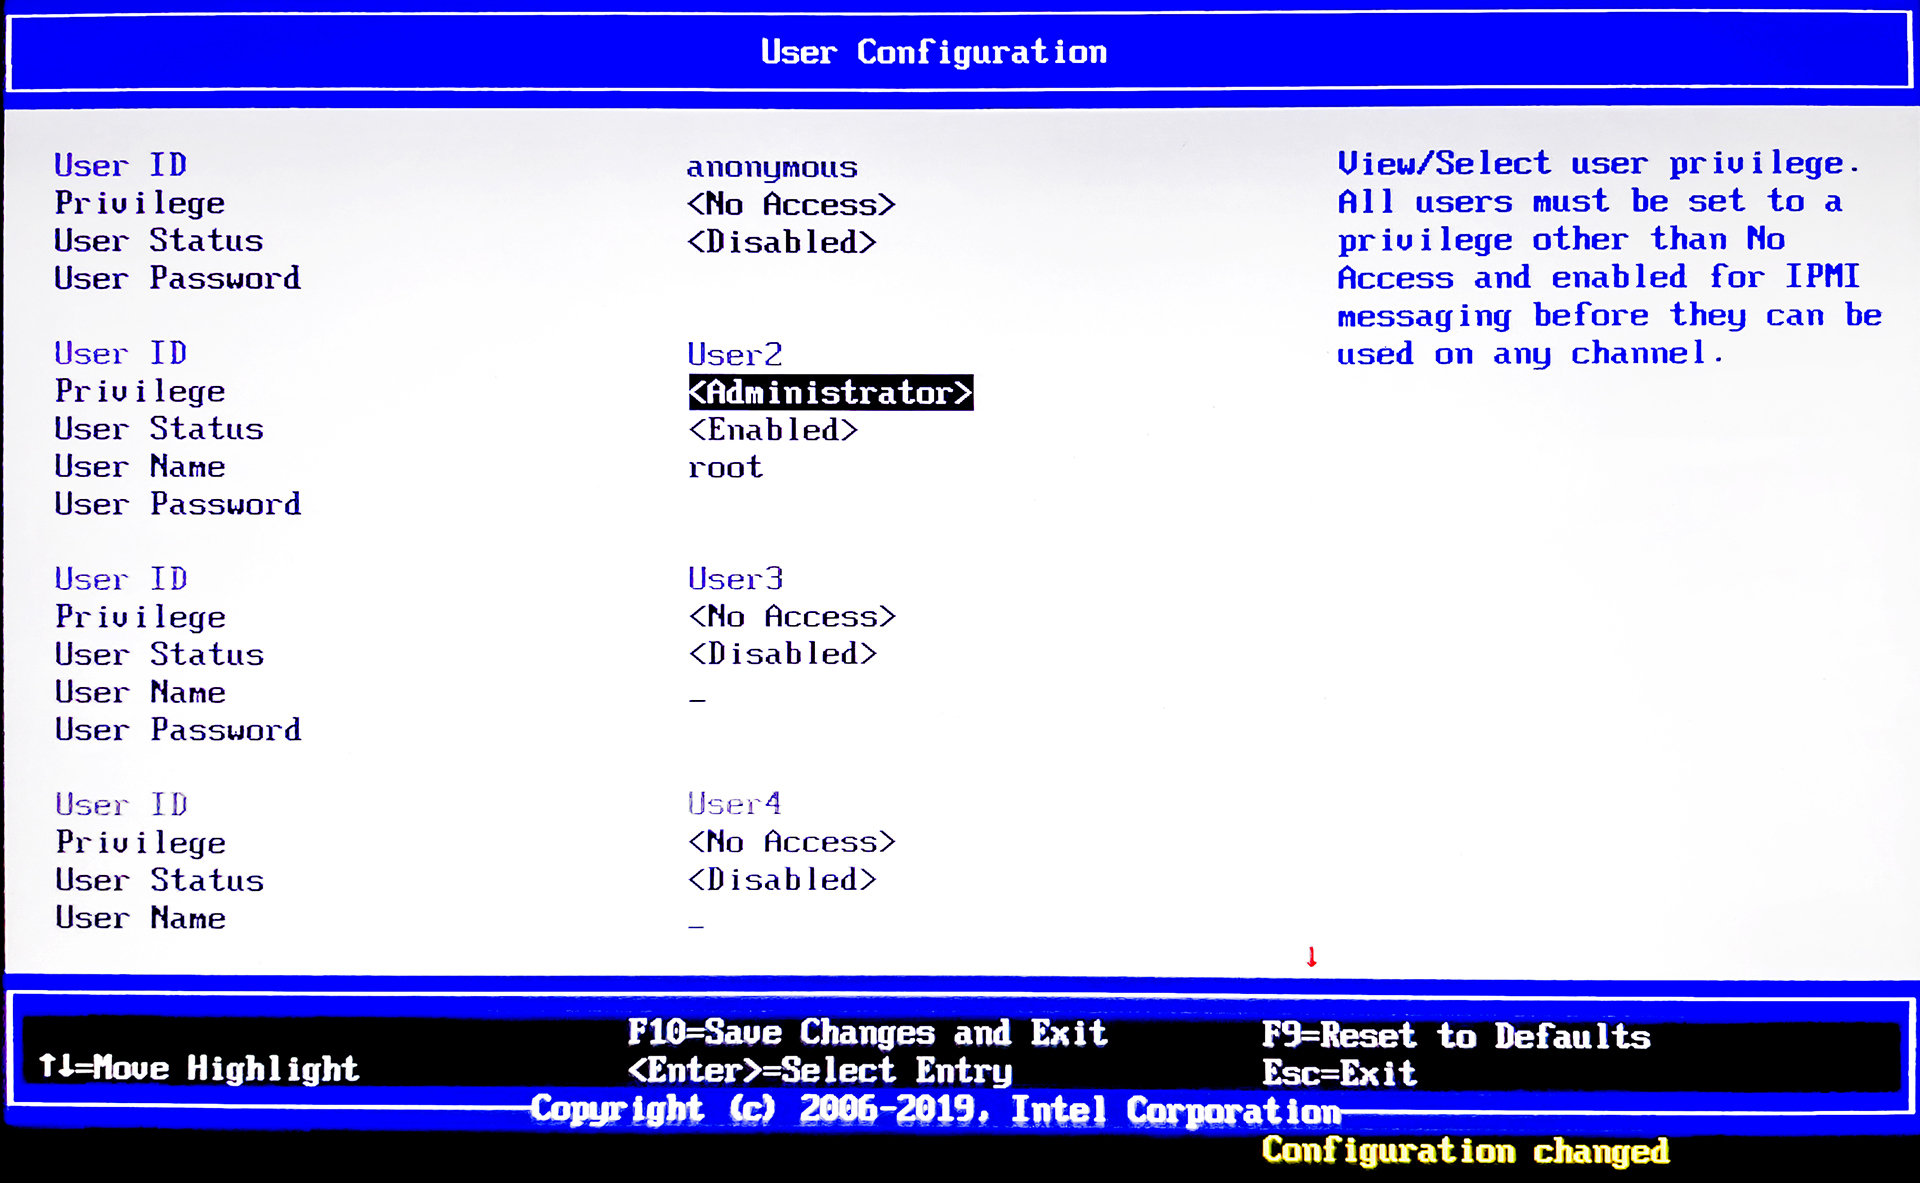
There are some pre-defined users - Anonymous, User2, User3 etc. I would avoid using Anonymous and configure User2. This will mean that people will be less likely to guess your account details. In this example I have configured User2 with the following settings.
User2
Privilege <Administrator> (assuming we need full access)
User Status <Enabled>
Username - root
User Password - envivio
To finish the setup, press F10 (F10=Save Changes and Exit)
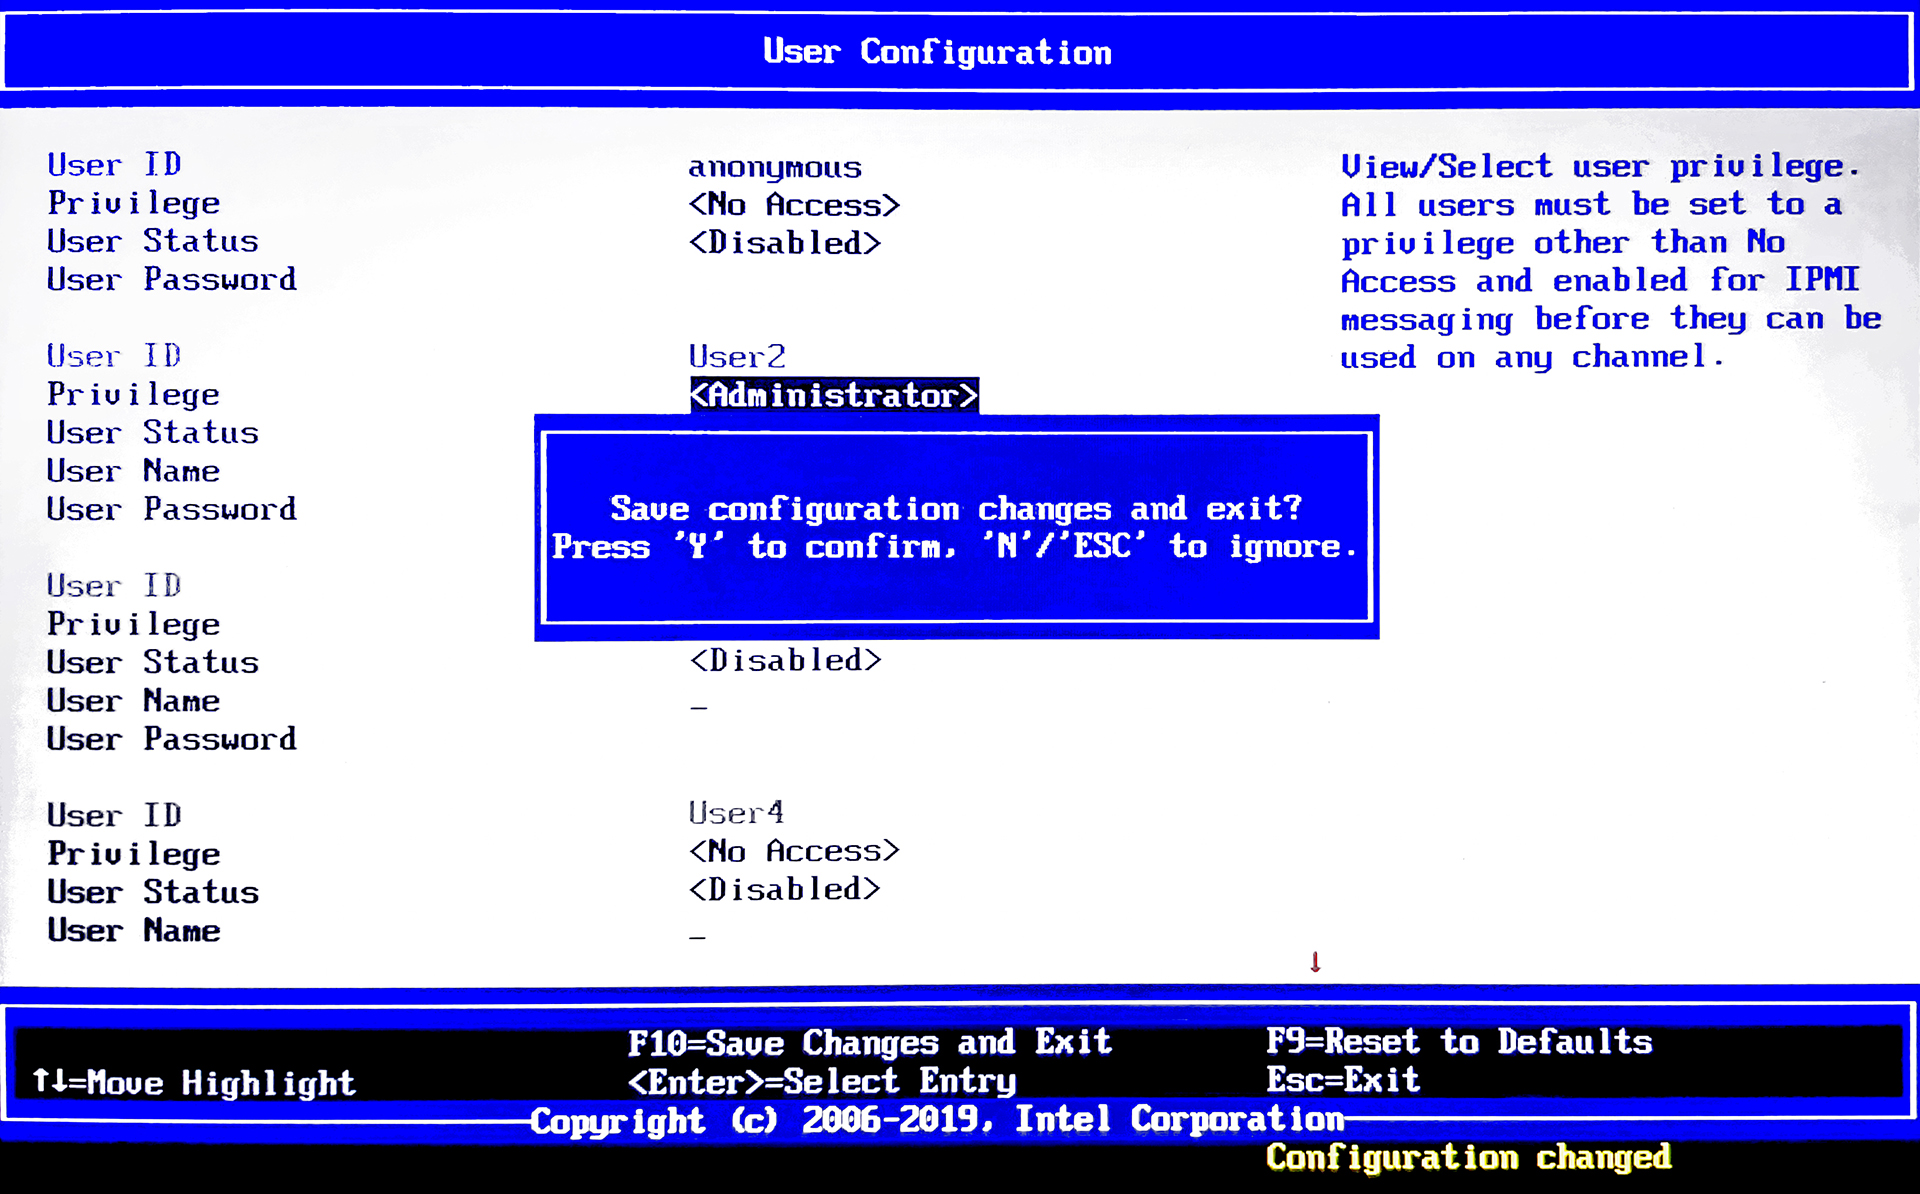
Press Y and the server will reboot.
BMC Useage
Using a Java enabled web browser, navigate to the BMC address you have configured.
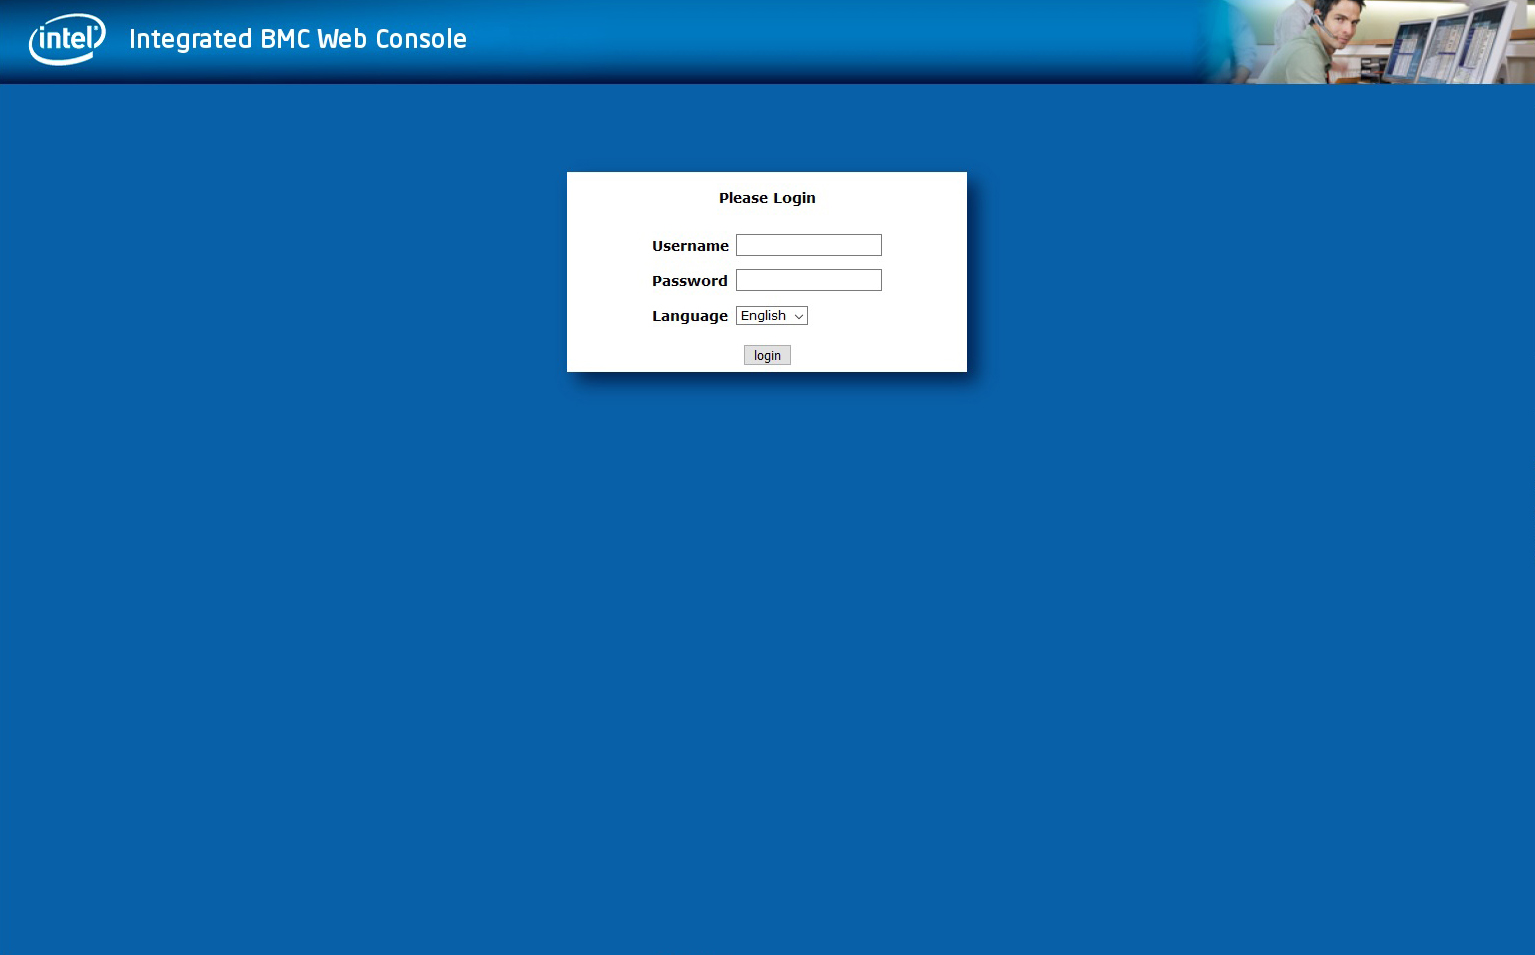
You will see a login page (you will have to go through a browser challenge to get here)
Enter the username/password you selected when configuring the BMC (root/envivio in this example)
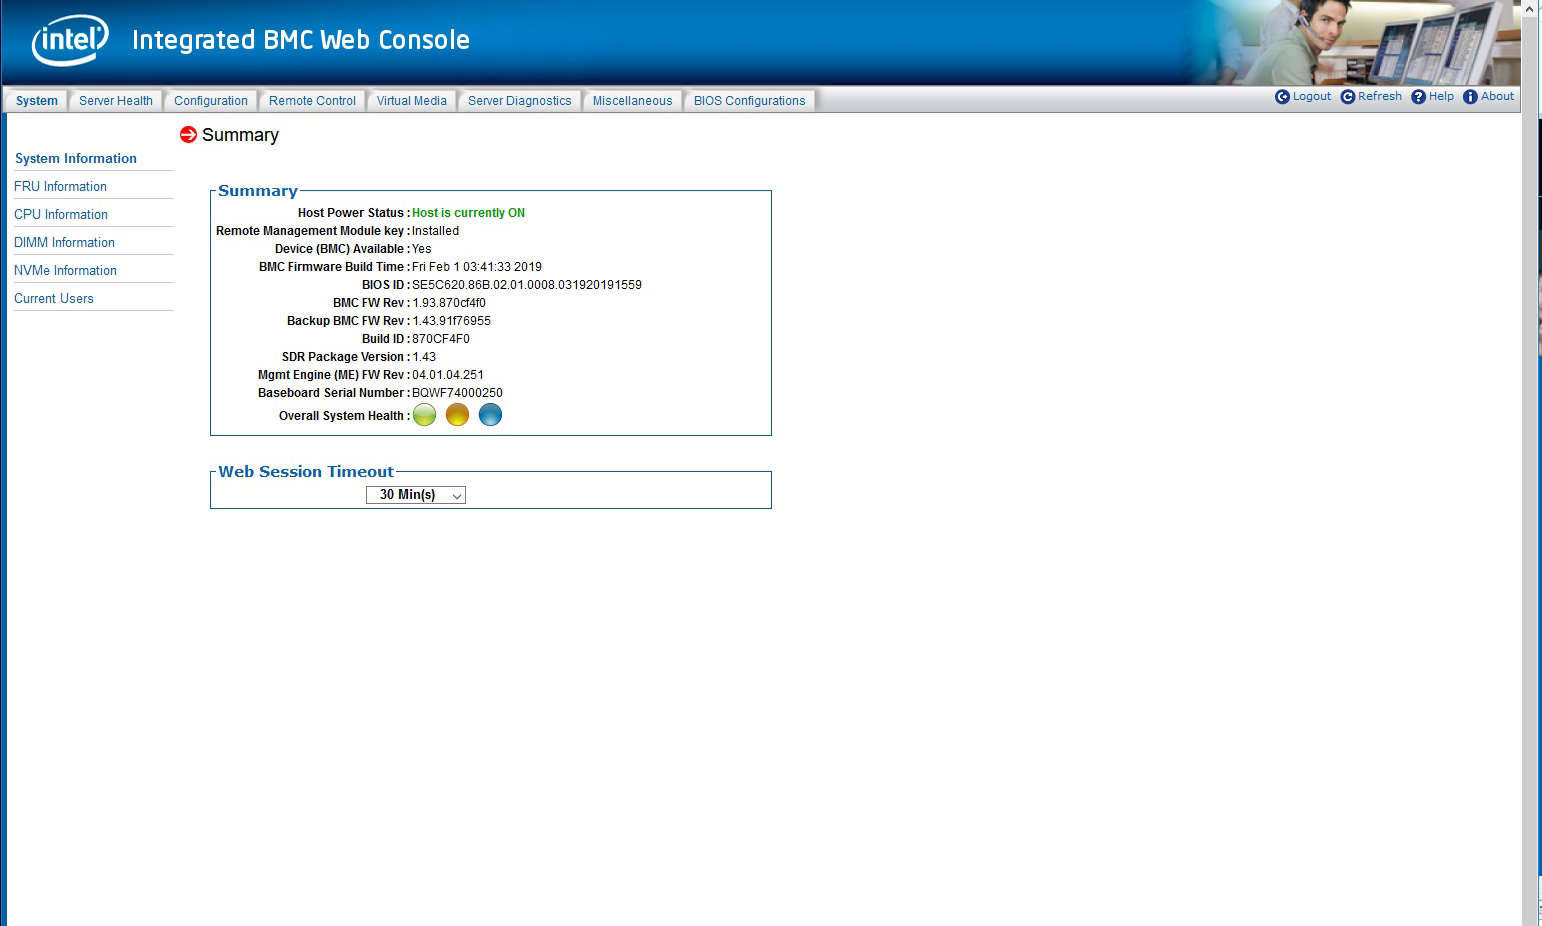
You can now navigate around the BMC options using just a web browser. For me one of the most useful features is on the Remote Control tab.
Click the Remote Control tab to bring up the following page.
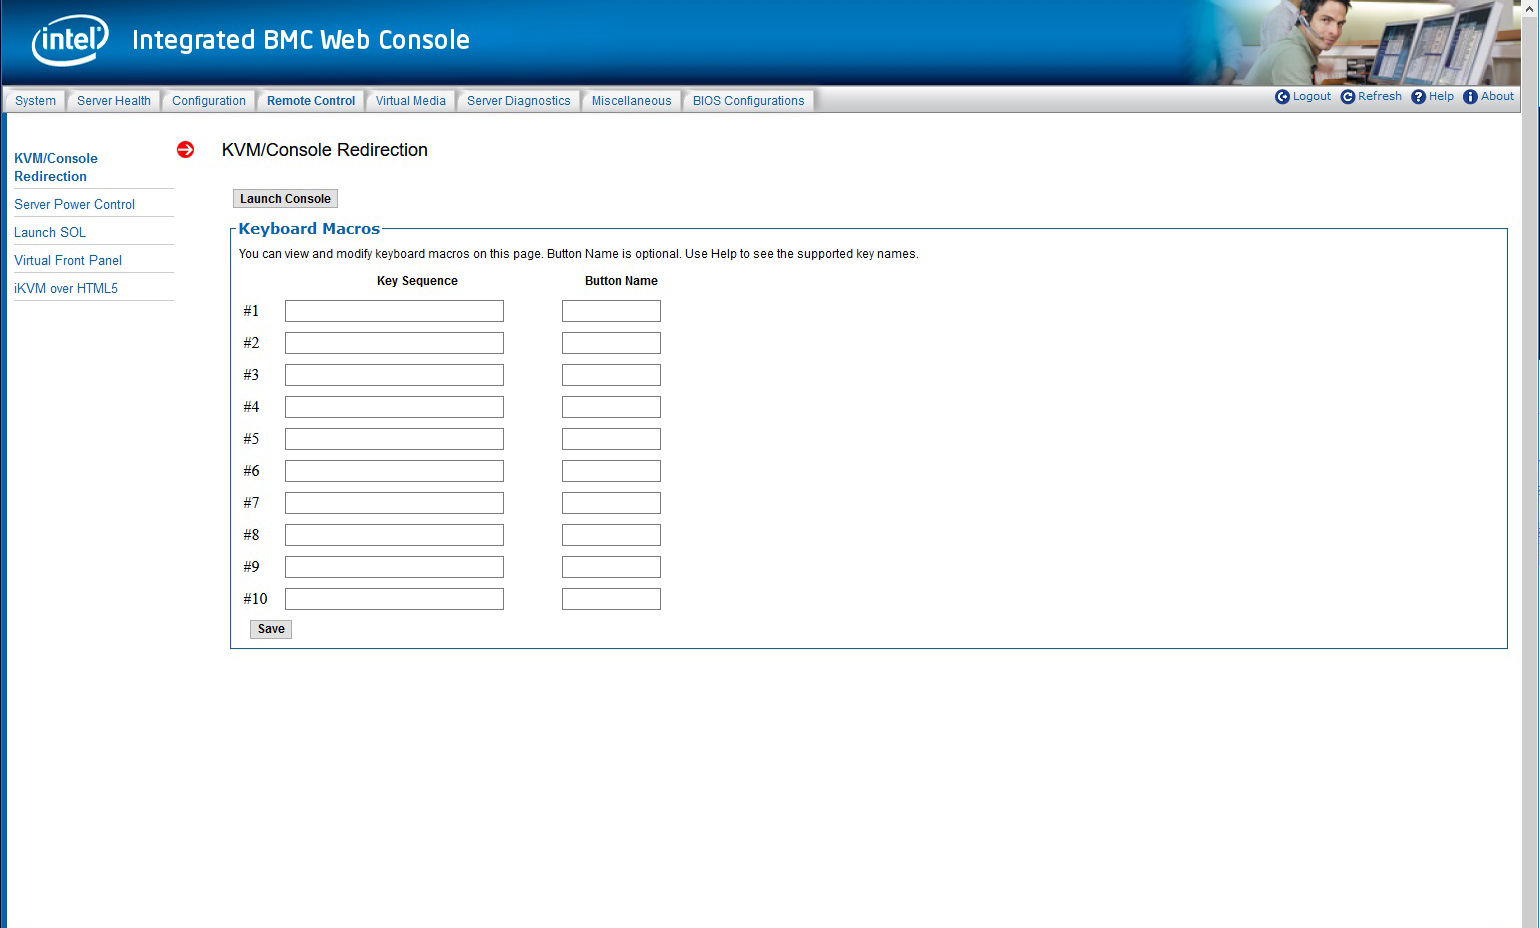
Just under the title KVM/Console Redirection, click the Launch Console button.
Depending on your browser, you might get a window asking for login details, use the BMC login, not the OS login. If you don't get this window, you just have to login from the command prompt.
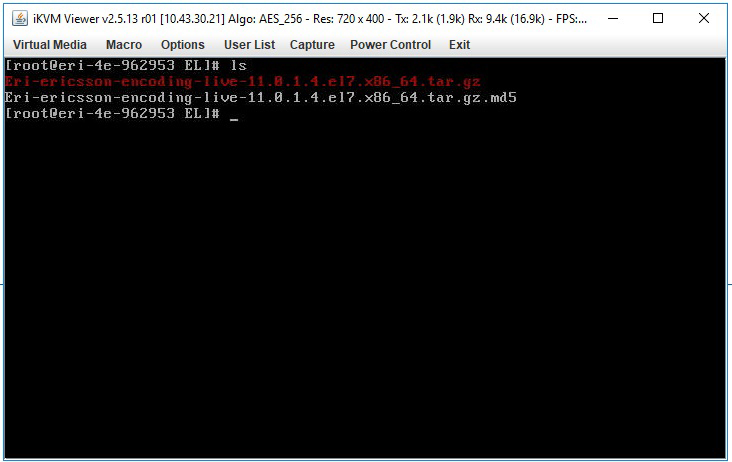
You can now use the console in the same way you use SSH, so this is really useful if the only available port to the G8 server is port 80 (ssh requires port 22 for example)
Diagnostic Example
When using the Web Console, there are many things you can do, one of these is to look at the server logs. Click on the second tab Server Health.
Now click the Event Log entry on the left hand side.
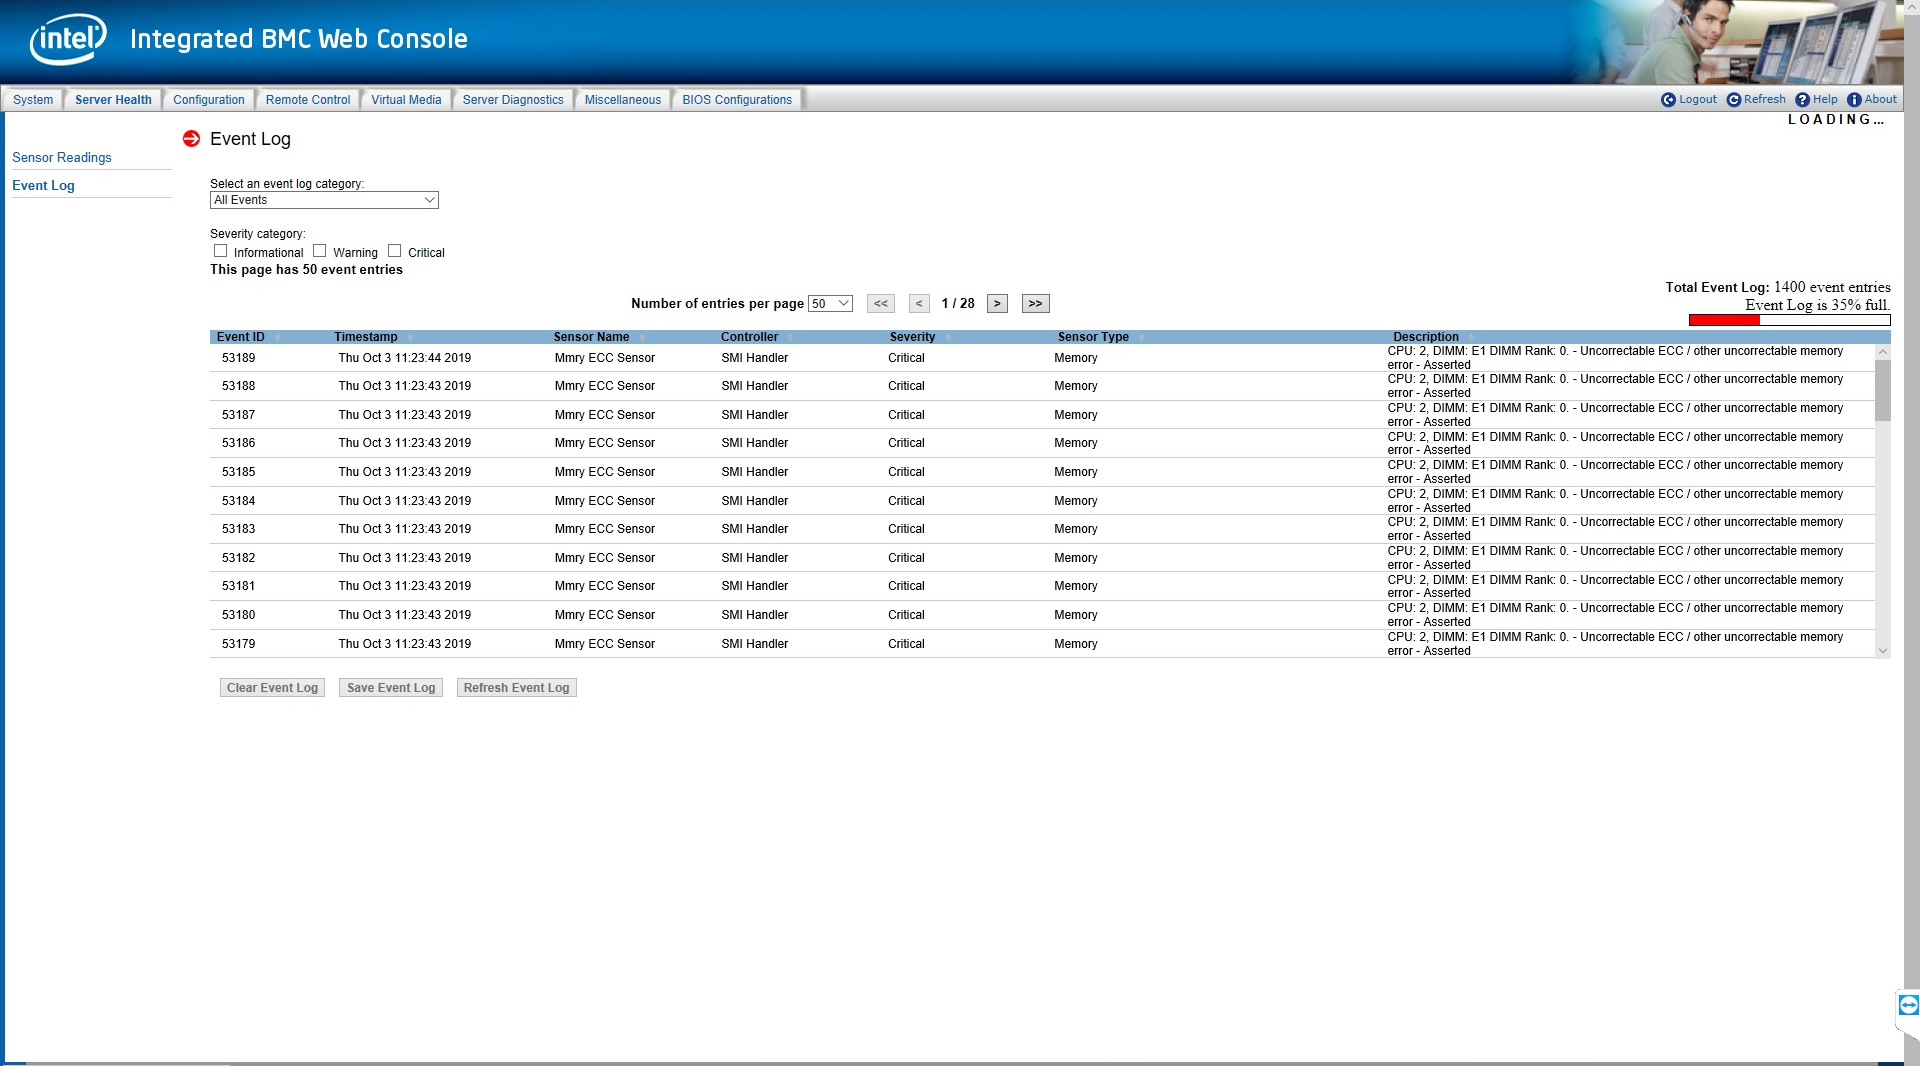
I had a server that would not install any OS, and kept rebooting. The install errors made little sense, so the Even Log was checked by a colleague, and here we can see that is is full of CPU DIMM: E1 errors, indicating that this DIMM has developed a fault.
So if you have a server that is being troublesome, it is worth using the BMC to check for any errors.
